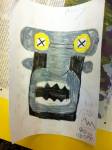
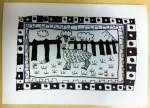
line illustration using Sharpie pens
I’ve recently been reading a fantastic book by Mona Brookes called ‘Drawing with Children’. People assume that being able to draw well or realistically is a gift one is born with.
To be good at drawing has more to do with being able to see and recognise simple shapes in everything around us and then making marks on paper that are similar to those shapes and the area around those shapes (negative space).
Quite simply, drawing can be taught, just like any other subject. Mona devised an alphabet of drawing which lists the 5 Basic Elements of Shape. Once a person can relate these shapes to what they see, they are able to draw with a much better understanding of how an item is made up of lines, curves, angles, circles & dots etc.
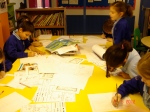
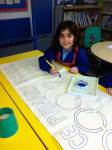
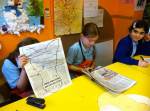
With this in mind, I have decided to see if the alphabet of drawing can help my students. We studied the 5 Basic Elements of Shape, we looked at everyday items and recognised the shapes that made that object be. I illustrated a variety of gridded worksheets with some line drawings on them that the children could copy, just to see how they were ‘seeing’. This was just a warm up exercise to get them concentrating on shape. I thought they did quite well and what surprised me most was, they really enjoyed the challenge.
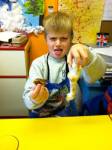
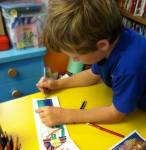
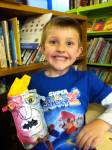
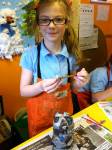
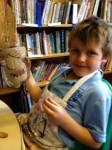
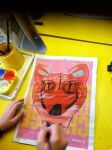
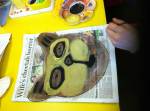
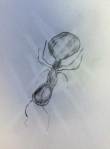
To make the drawing lessons fun, over the following weeks the children worked on line illustrations made up from simple shapes using their imagination. We had plenty of books for reference and inspiration as we are still based in the library. The students worked on ideas on draft paper before attempting their final piece of artwork.
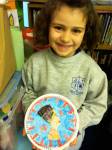
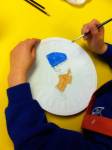
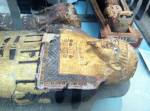
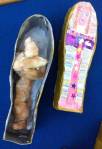
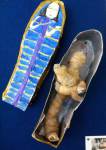
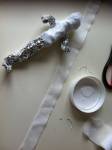
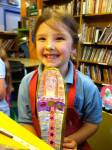
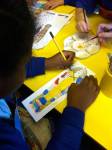
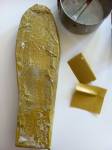
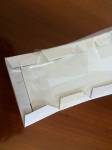
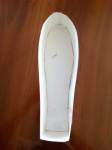
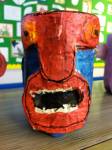
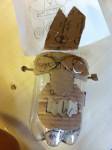
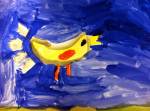
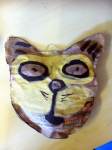
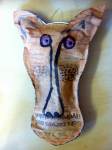
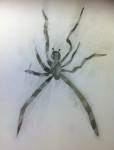
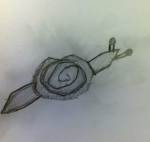
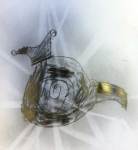
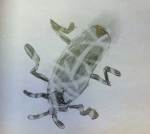
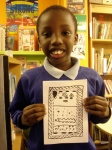
An A4 piece of cartridge paper had been folded in half and a ‘window’ cut in one half. They had to draw two decorative borders, one around the ‘window’ and the other on the paper underneath (using the ‘window’ edges for guidance). Inside the border they had to draw an animal within a decorative background. Sharpie pens that had thick and thin nibs were used as our drawing medium.
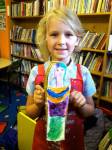
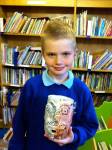
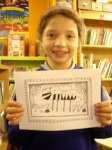
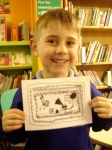
Here are just a couple of finished pictures. The drawing alphabet did help the children with this project. It made them look for recognisable shapes which gave them the courage to put Sharpie pen to paper without having to do a pencil line drawing first.
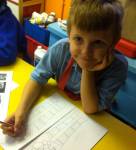
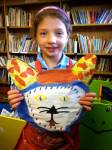
Of course it’s a long term thing, being able to draw is not going to happen quickly but it’s encouraging to see the children grow with confindence.
Our next project will focus on pencil drawings.
-
-
-
-
-
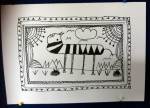
Zebra
-
-
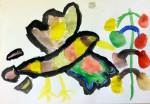
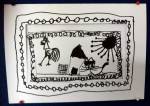
Cat chasing a Cockerel
-
-
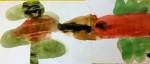
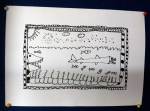
Fish
-
-
Spring lamb
-

-
line illustration using Sharpie pens
-